Now that the winter holidays have passed, I can finally reveal what I have been doing since the summer. What started as one project for my school turned into making things for fun for some friends. To preserve the surprise, only my family knew what was going on.
It started over the summer as the spring 2016 semester wrapped up. I left school with a thought in my head from the department chair: there was some funding to be had for any school-related projects. What could I ask for? The skeletal print-outs from eFossils was done already and only cost some glue sticks and fixative. Thinking bigger, I remember an article I read about the 3D printing of the skull of Homo naledi, a recently discovered fossil hominin. I was fortunate enough to teach in a classroom that has a cabinet of fossil replicas, and H. naledi would be a great addition. With the goal of having a replica made, I started researching the 3D printing process.
3D printing is a developing technology where objects are constructed using a stream of melted plastic that is computer-controlled, similar to a precise hot glue gun. The state of 3D printers now is similar to what consumer paper printers were like over twenty years ago: expensive, picky, and unreliable. A printer would have been too costly for me or the department (I imagine… I didn’t ask), but there is a service named 3D Hubs that connects people who want things 3D printed with those who have 3D printers. The file for the skull is freely available at Duke University’s MorphoSource, but it is a raw scan with far more detail than what a typical printer would deal with: enough to bring my hefty computer to a crawl. My aim then was to learn enough 3D software to work with the Homo naledi skull file so it is as easy to print for whomever I commission.
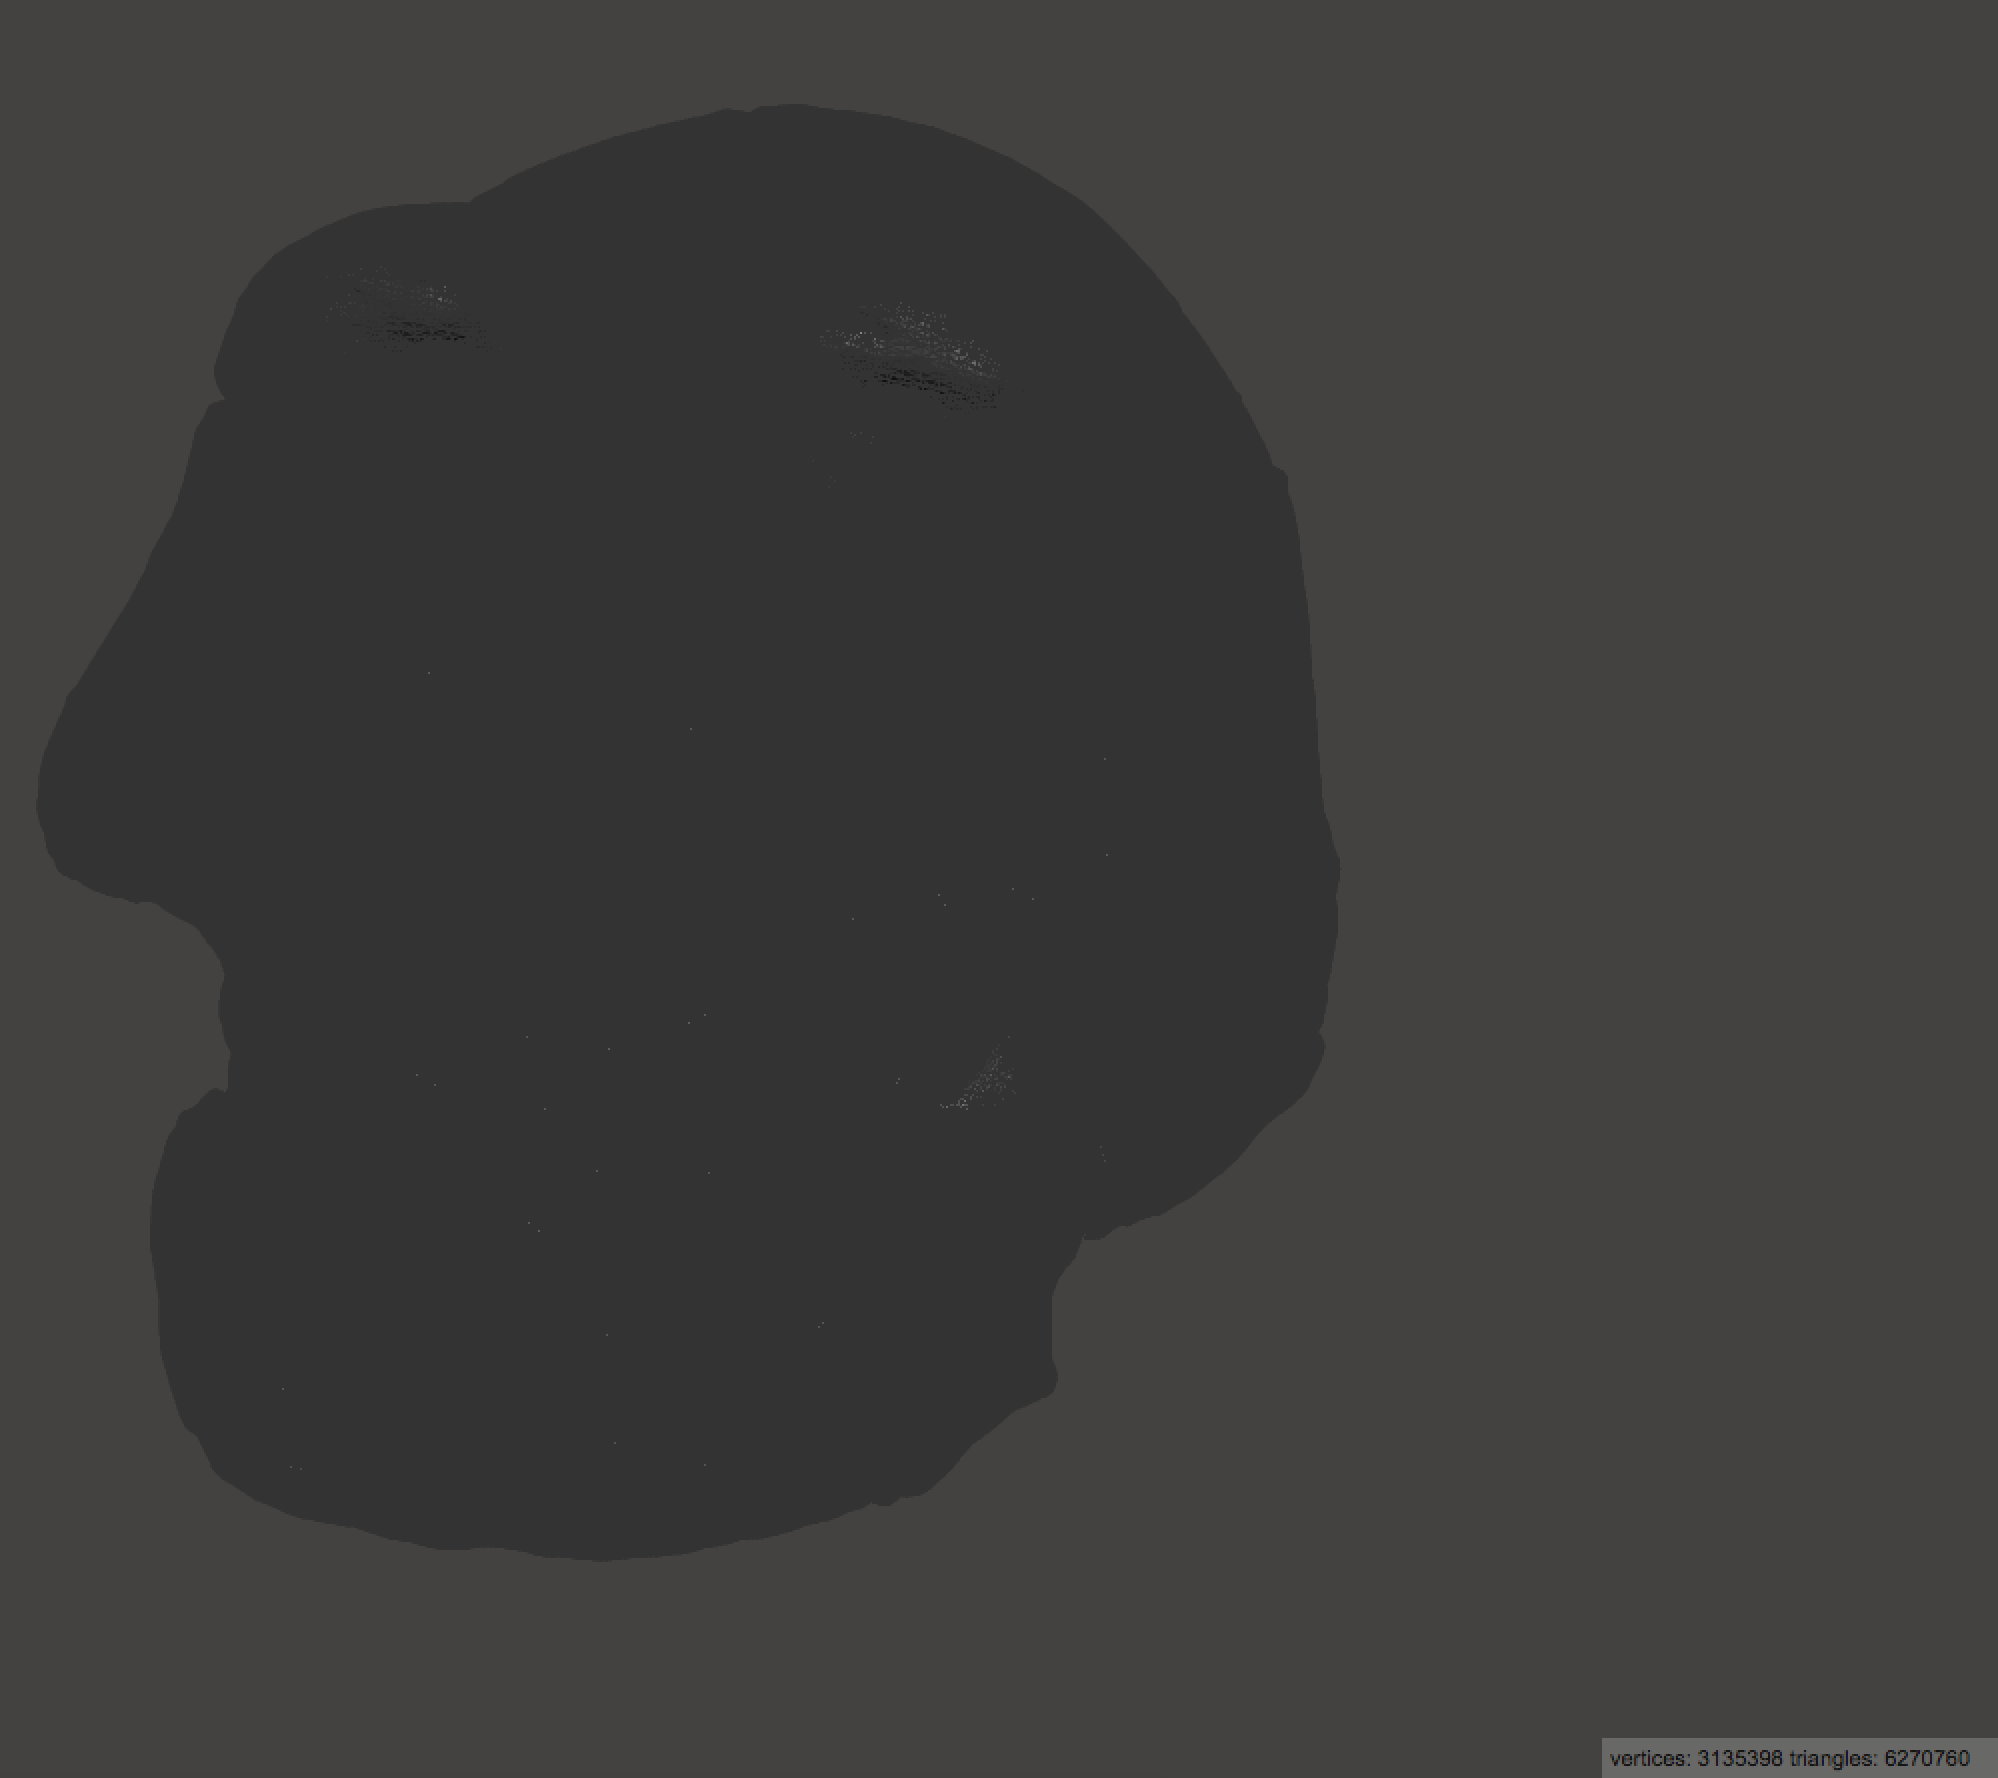
{ At over 6 million polygons, the wireframe view of the raw file is all wires. }
I settled first on Sculptris, but found out that it was no longer being developed. I then moved on to Meshmixer. My goals with the software were to pare down the number of polygons so that it is not more detailed than what a printer could print. 3D Hubs would also not accept the raw file size of 350MB. For my department’s sake, I also wanted to hollow out the model to reduce the volume of plastic and the cost needed to print it. Meshmixer was especially helpful since it has a hollowing function with a lot of flexibility. There were also functions that intelligently reduced the number of polygons for lower detailed regions, leaving a much smaller file size of 45MB. Even with the work done to manipulate the scan, the skull would be a challenging print due to its irregular shape and large size. After doing the best I could to the best of my novice ability, I sent the model file to a local printer to make.

{ I reduced the polygons to around 500,000. No visible detail lost with the print, hopefully. }
The cost ended up at around $95 (without hollowing, it would have been $300). The rest of the Homo naledi replica story will be told another time, as it is still being printed, but working on this project just got me started on 3d modeling and printing. In the next part, I will talk about where I took my new interest!
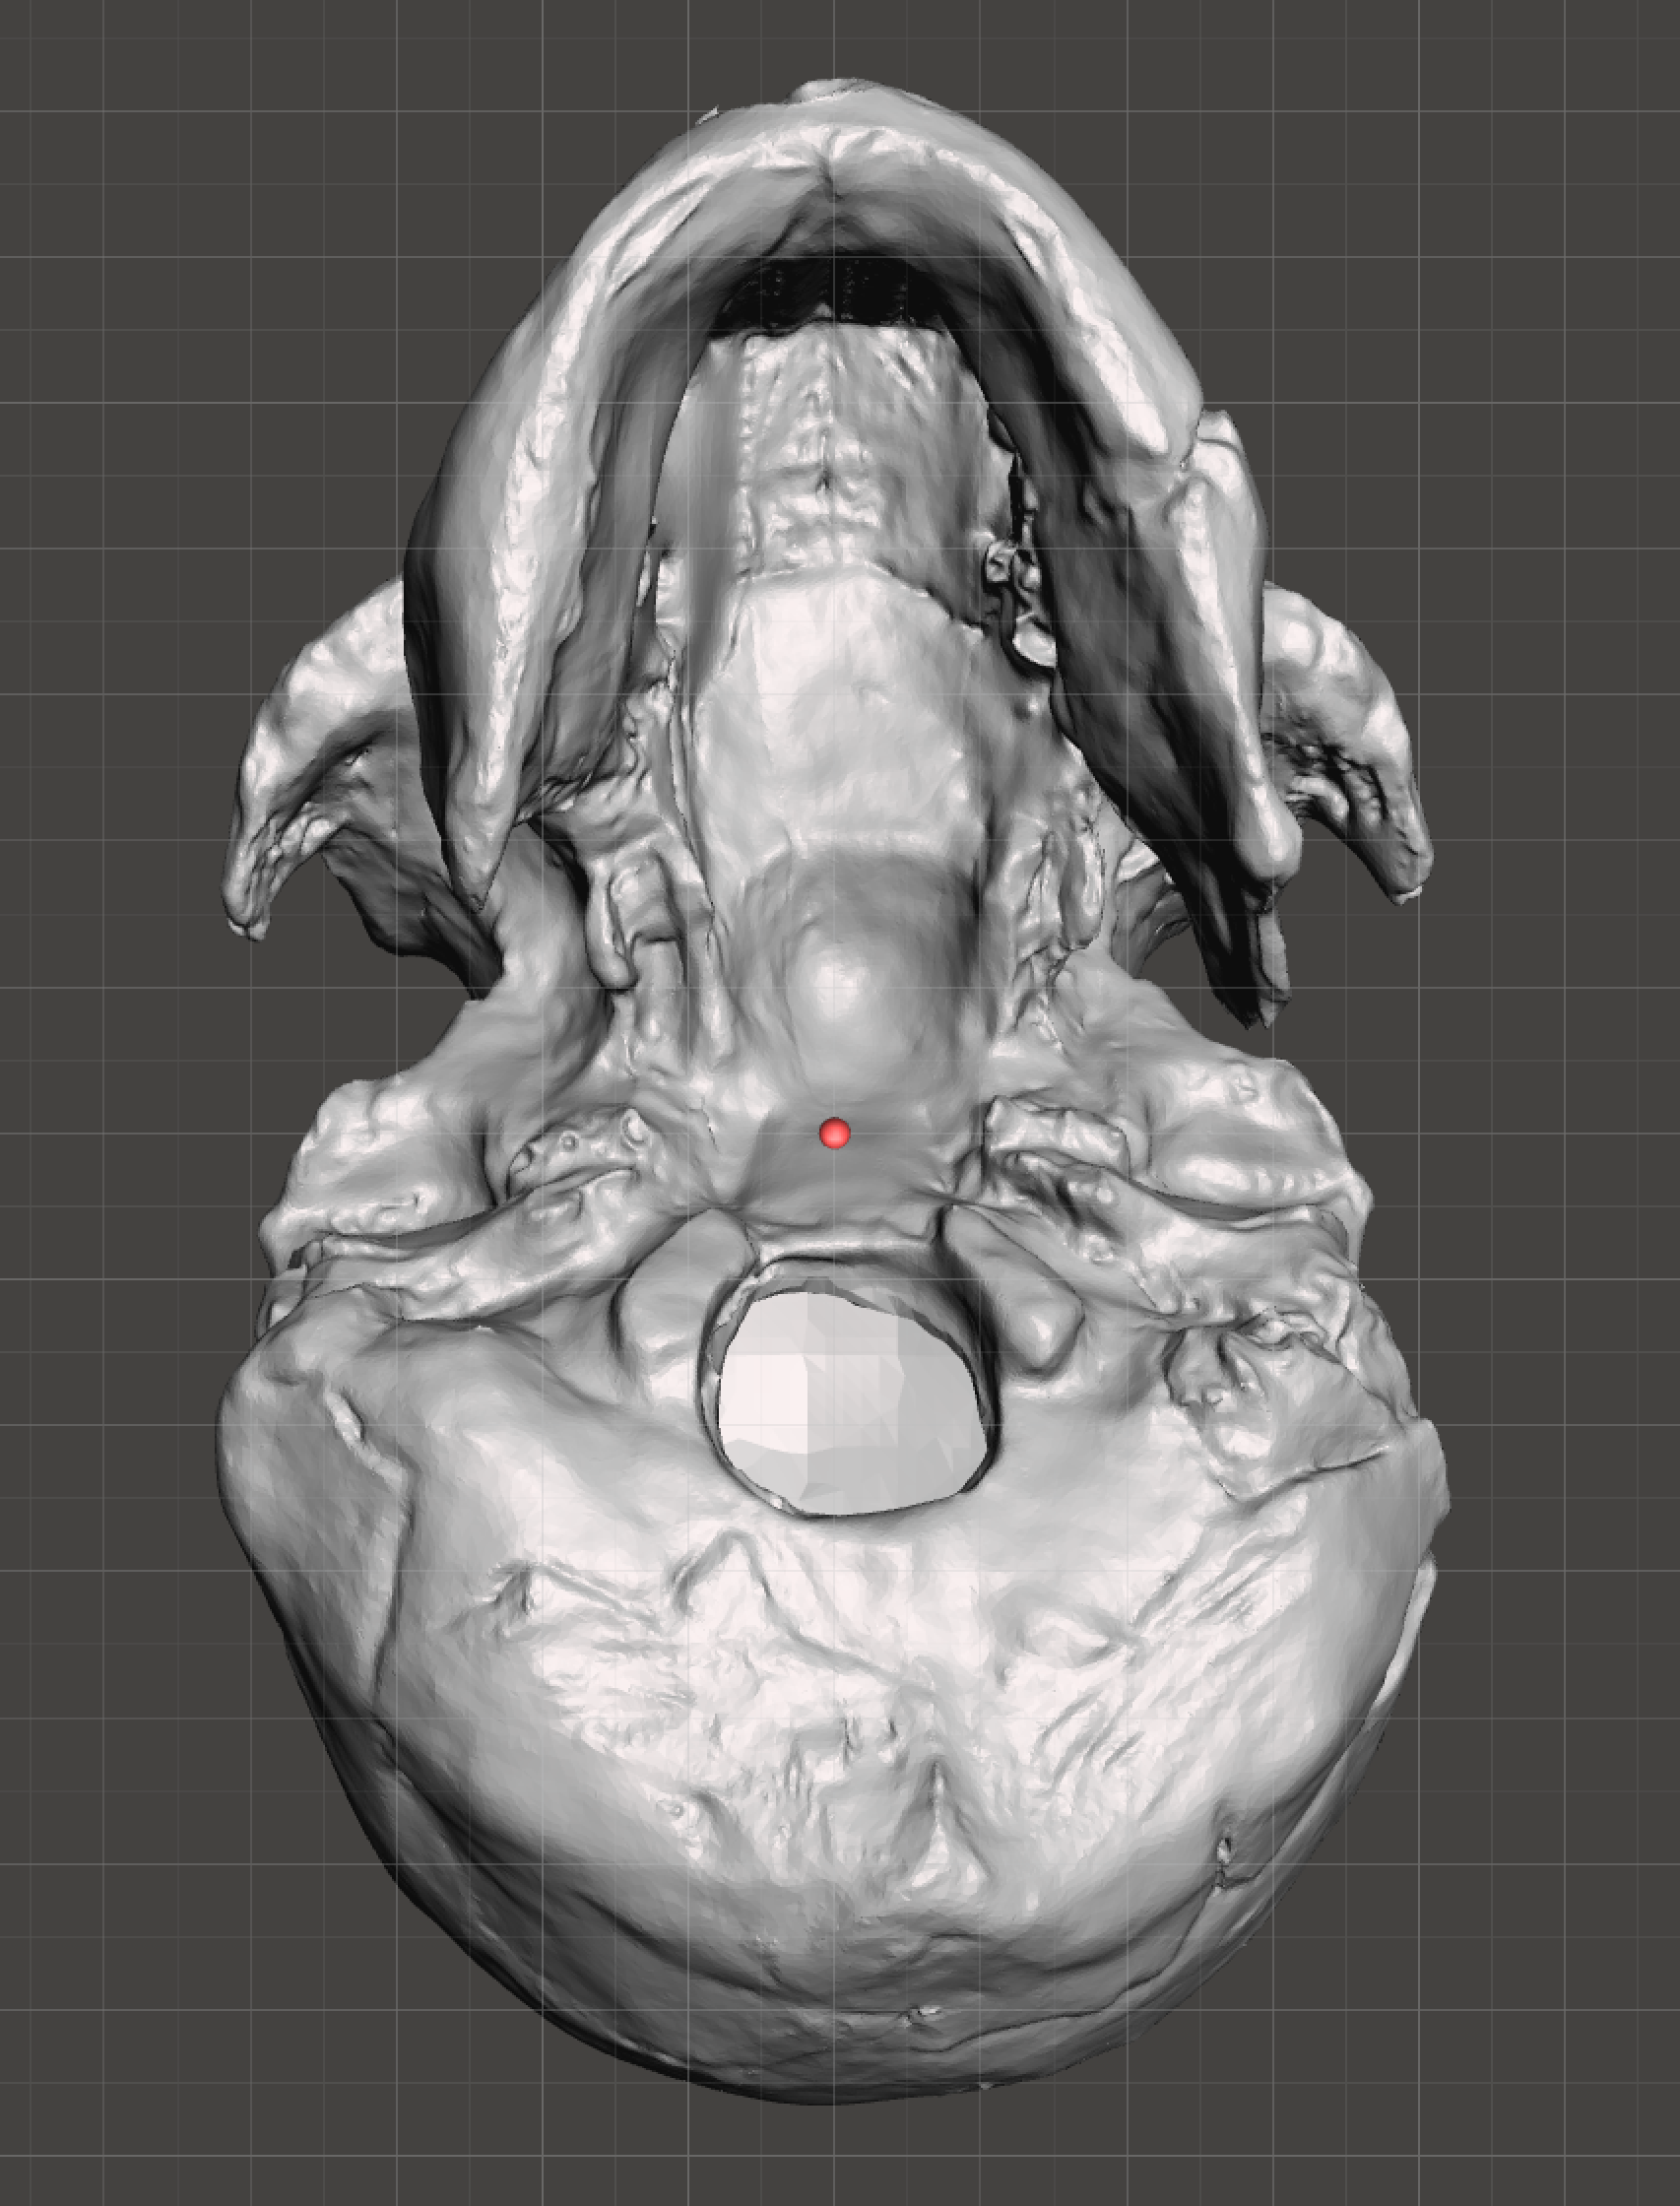
{ Inferior view of the hole I made in the foramen magnum (where the spinal cord connects to the brain) showing the hollow interior. The interior was calculated in Meshmixer and does not reflect the actual fossil’s appearance. It makes the 3D print 30% cheaper, though. }